Cuvette holder update
These instructions are for replacing the current 2-part cuvette holder with a 3-part version. We will be adding these parts to the main kit shortly.
Hardware
| Qty | Description | Vendor | Part # | |
|---|---|---|---|---|
| 4 | Cuvette standoffs: male-female | 4-40 hex standoffs 3/8” long | mcmaster-carr | 93505A116 |
| 2 | Cuvette standoffs: female | 4-40 hex standoffs 3/8” long | mcmaster-carr | 91780A509 |
| 4 | Cuvette screws | 4-40 machine screws, 3/8” long | mcmaster-carr | 91249A108 |
| 1 | Black acrylic cuvette holder with cutout | |||
| 2 | Black acrylic cuvette holder |

Assembly
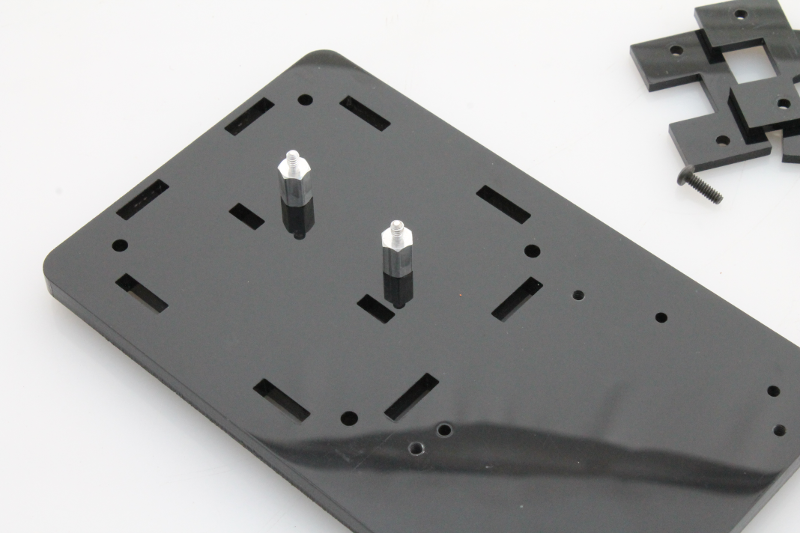
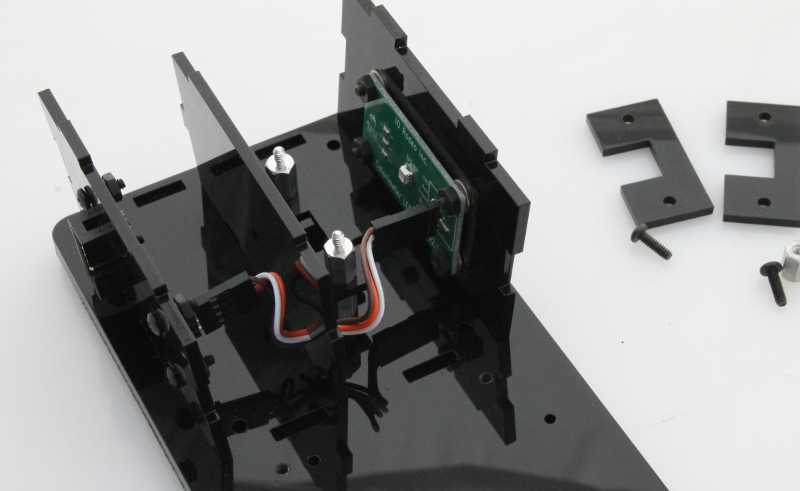
Step 1. Using two of the screws, mount the first pair of male-female cuvette standoffs.
Step 2. Place the black acrylic cuvette holder with the cutout onto the standoffs as shown in the image below.
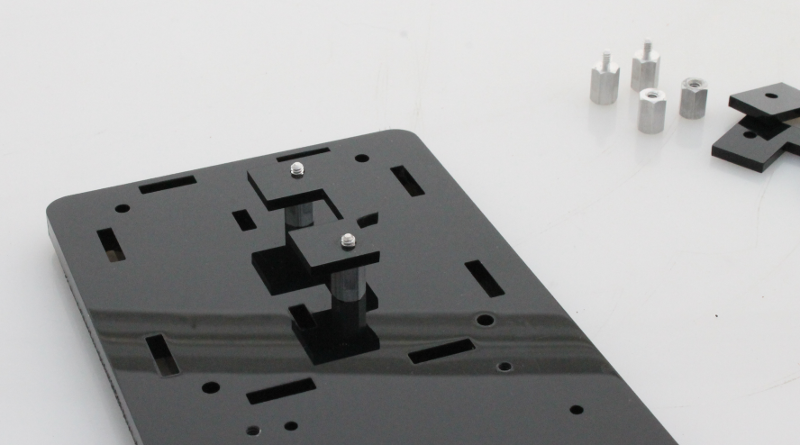
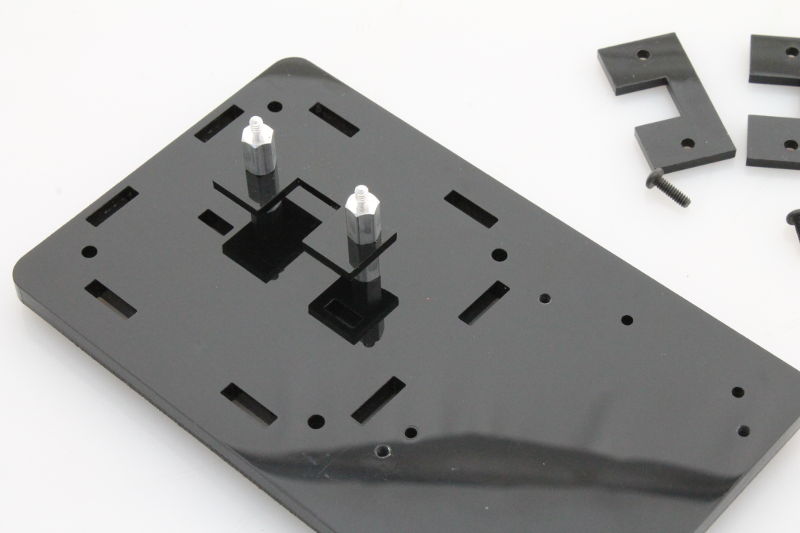
Step 3. Mount the second pair of male-female cuvette standoffs.
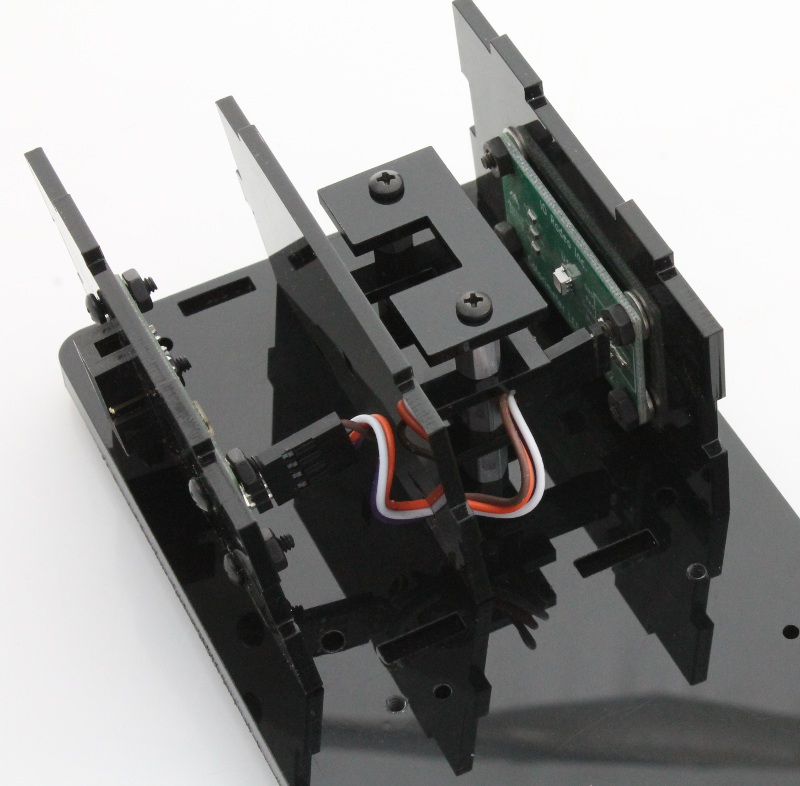
Step 4. Place the LED and sensor components onto the colorimeter base here. This assumes you already have assembled these parts as described in Steps 6-9 of Assembly of the colorimeter. Orient the parts as shown in the image below.
Step 5. Next step, place one of the two regular black acrylic cuvette holders onto the standoffs and mount the last two female cuvette standoffs.
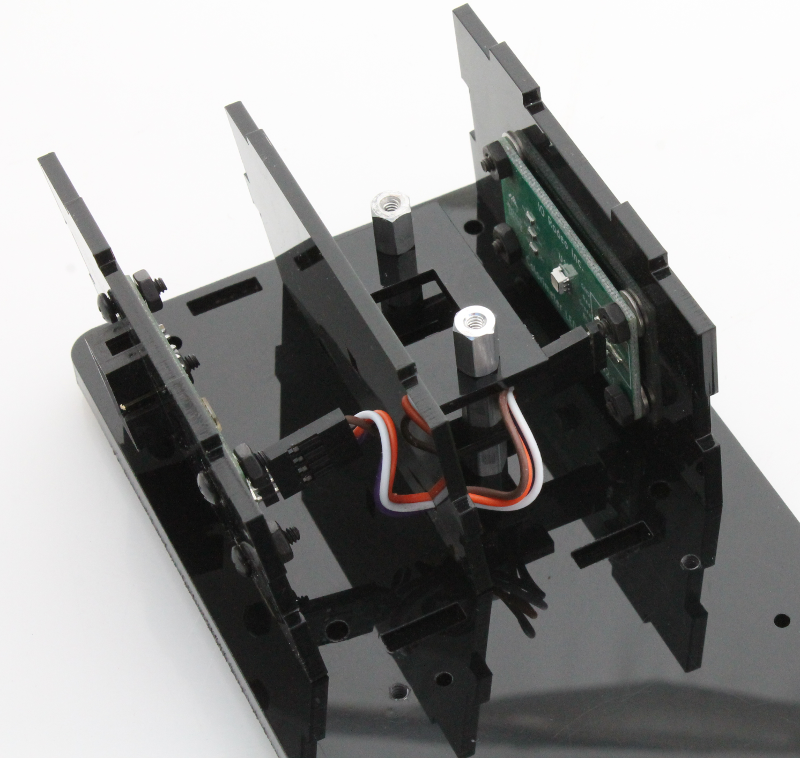
Step 6. Finally, place the last black acrylic cuvette holder onto the standoffs and secure with the last two screws. Continue to assemble the rest of the colorimeter from Step 11 of Assembly of the colorimeter.