Step 4: Left and Back Panels
Assembly steps
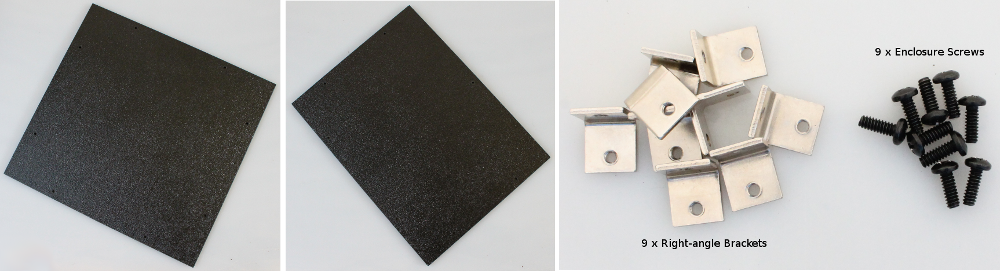
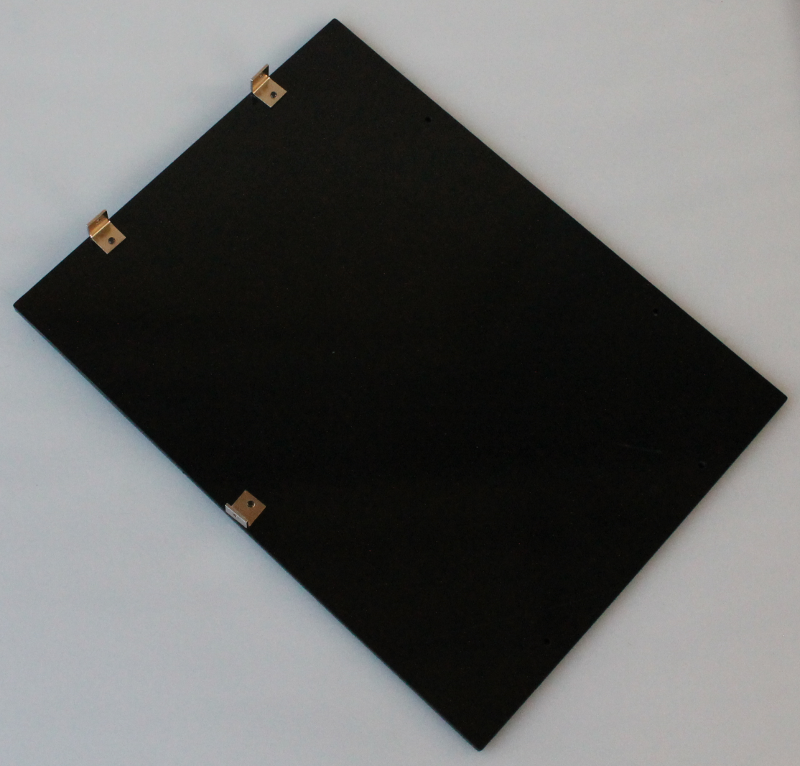
Left side panel: Mount 3 of the right-angle brackets as shown in the image below
With the smooth face of the panel facing you, mount the 3 brackets as shown with two on the top edge and one on the left-hand edge. The two holes on the bottom edge and the two holes on the right side should be left free.
Back panel: Mount 6 of the right-angle brackets as shown in the image below
With the smooth side of the panel facing you, and the longer edge on the bottom, mount the 6 brackets as shown in the image below. Make sure to leave the two holes free on the longer, bottom edge of the panel.
